Share your Microsoft 365 calendar with others

This article covers how to share and how to open a shared calendar
Sharing with people directly
- From your Calendar folder, on the Home menu, select Share Calendar.
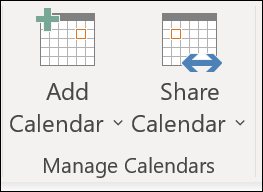
Choose the calendar you want to share from the drop-down menu. - In the Calendar Properties dialog box, click Add.
- You can search for people from your address book or type in their email addresses in the Add box.
- When you're done adding names in the Add Users dialog box, click OK.
- Back in the Calendar Properties dialog box, select the person's name or email address, then choose the level of details that you want to share with the person, then click OK.
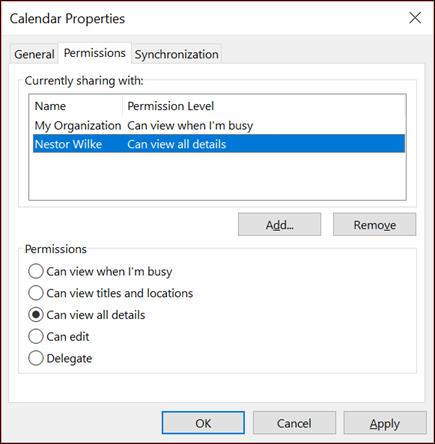
- Can view when I'm busy
- The person can open your calendar and only see if you have an appointment and if you are available, busy, or out of the office
- Can view titles and locations
- The person can see what the subject of your meeting is and the location
- Meetings that are marked private are displayed as a “private appointment” and only show if you are out of office, tentative or busy
- Can view all details
- The person can see (not add, edit, or remove) all details on your calendar
- This includes any meeting notes and attachments
- Can edit
- The person can add, edit, or remove any appointment, meeting, or details within your calendar
- Delegate
- Same permissions as "Can edit" except the person also receives meeting requests and meeting invite responses for you
- Best for Admin Asistant roles
- The person you've shared your calendar with will receive a sharing invitation by email.
- Once the recipient clicks Accept, they'll see your shared calendar in their calendar list.

If you see a message that says This calendar can't be shared, there are three possible reasons.
- The email address is invalid.
- The email address is a Microsoft 365 Group
- The email belongs to an external user who isn't part of your organization.
Stop sharing your calendar
- Click Calendar.
- Click Home > Calendar Permissions.
- On the Permissions tab, click the user's name and then choose Remove.
- Click OK.
It may take a while for Microsoft 365 and the user's Outlook to sync and remove the view to your calendar.
It may take a while for Microsoft 365 and the user's Outlook to sync and remove the view to your calendar.
Share calendar in an email

If you don't want to give someone permissions to share your calendar and see updates, you can email a static copy of your calendar for a specific date range. The recipient will be able to see the events on your calendar at the time you sent the email, but not any updates you make after you send the email.
- Click Calendar.
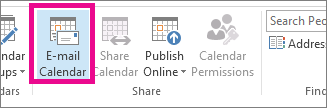
- Click Home > E-mail Calendar.
- In the Calendar and Date Range boxes, pick the calendar and time period you want to share.
- For example, choose Today only or for the Next 7 days.
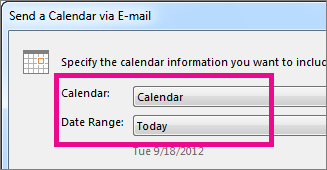
- Set any other options you want, and then click OK.
- In the new email that opens, add who you want the message to go to in the To field, add a message if you want, and click Send.
Additional Information to provide to recipients
After sharing your calendar, have recipients review the following information about opening shared calendars.
To open a calendar in a Microsoft 365, Exchange Online environment, see How to enable and disable the Outlook Calendar sharing updates. Otherwise, if you are using Exchange On-Premises or other email accounts such as Outlook.com, see the following articles as applicable.
- Outlook for Windows: Open another person's Exchange Calendar
- Outlook on the Web: Manage someone else's calendar in Outlook on the web
- Outlook for Mac: Open a shared Exchange calendar in Outlook for Mac
- Outlook for Mobile: How do I open a shared calendar?
- Outlook.com: Share your calendar in Outlook.com